Please refer to the Settings Guide for details.27.9.3 Common (Movie) Settings
27.9.4 Movie Player Settings Guide
25.9.3 File Manager
For details on how to draw parts, and defining the address, shape, color, and labels, please see the parts editing topic.8.6.1 Editing Parts
Determine the order of the movie files in the playlist, and play the movies in that order.
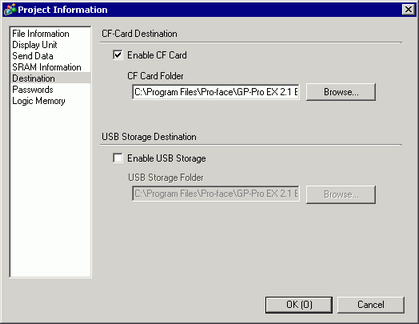
To create a playlist file and save it on a CF Card or USB storage, you must specify the CF Card or USB storage folder.
If you have specified the [Destination Folder] already, the following message is not displayed. Begin specifying settings from procedure 3.5.7.2 Procedure - Viewing Project Information / Destination Folder Settings
In the [Common Settings (R)] menu, select the [Movie (O)] command or click , and the following screen appears. [Yes (Y)] displays the [Project Information] dialog box.
Select the [Enable CF Card] check box, specify the folder in which the movie files are stored, and click [OK].
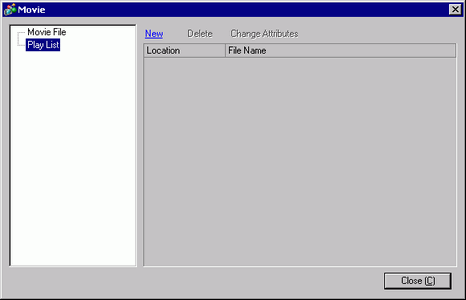
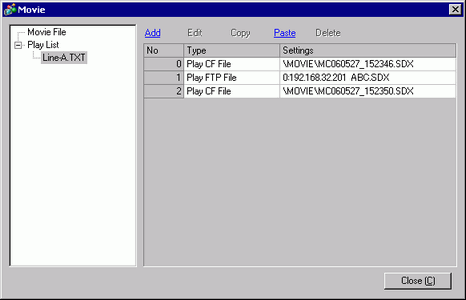
The [Movie] dialog box appears. Select [Playlist] and click [New].
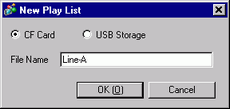
The [New Playlist] dialog box appears. Enter the playlist file name (for example, Line-A) and click [OK].
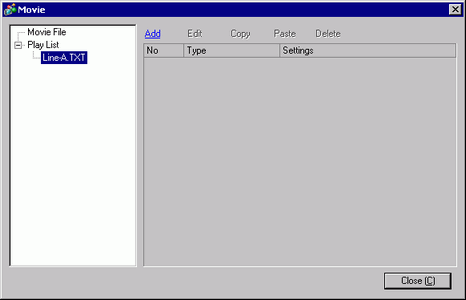
Select the created file and click [Add].
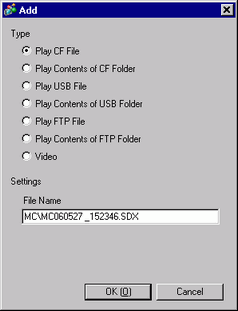
The [Add] dialog box appears. Select the [Play CF File] option, in the [File Name] field type the file name of the movie (for example, MC060527_152346.SDX) to add to the playlist, and then click [OK]. (If the file resides in the "MC" folder, type "MC\MC060527_152346.SDX".)
You can register movie files in the order you want to play them. After completing the registration, click [Close].
To create a play list on the FTP Server, use a text file (such as Notepad) to create a file in the following format.
You can specify the created file (TXT) in the movie player's [Play List] by selecting [FTP].
Format
Specify a movie file in the CF card
(Serial Number),CF, \MOVIE\(folder name)\(file name.SDX)
Specify a folder in the CF card
(Serial Number),CF, \MOVIE\(folder name)\
Specify a movie file in the USB storage
(Serial Number),USB,\MOVIE\(folder name)\(file name.SDX)
Specify a folder in the USB storage
(Serial Number),USB,\MOVIE\(folder name)\
Specify a movie file in the FTP server
(Serial Number),FTP,FTP(FTP Server registration number),(Folder name)\(file name.SDX)
Specify a folder in the FTP server
(Serial Number),FTP,FTP(FTP Server registration number),(Folder name)\
Display real-time video
(serial Number),INVM
The serial number is assigned to the first line starting from 0 and then assigned sequentially to the following lines. Lines can be created from 0 to 99.
If you want to add comments, type the pound symbol (#) at the beginning of the line then type the comments. Lines with comments or line breaks do not affect movie play.
The FTP server registration number is the number registered in [FTP Server].
Separate the folder name and file name using "\".
Use single-byte characters for the file name of the playlist file. The extension is ".TXT".
The maximum number of movie files that can be played is 100.
Example expression
Creating the Movie Play Screen
In the [Screen List] window open the base screen where you want to display the video.
On the [Parts (P)] menu, click [Movie Player (O)], or click and place a movie player on the screen.
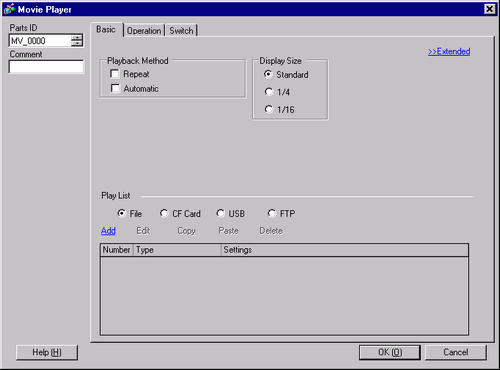
Double-click the movie player. The following dialog box appears.
In the [Display Size] area select [1/4].
If the selected [Display Size] is larger than the size of the display unit's screen or the movie player, the entire image is not displayed. If you want to display the entire image, set the [Display Size] smaller than the size of the movie player.
The display size varies depending on a type of display unit and display mode.27.9.4.1 Movie Player - Basic Settings/Basic
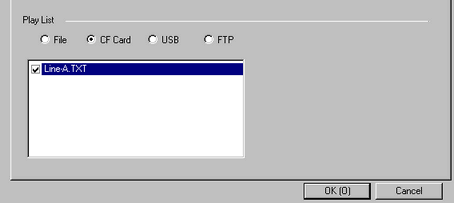
In [Playlist], select [CF] and select the check box next to the file created in step 7. (For example, Line-A.TXT)
If you select [File], the playlist can be specified in the Movie Player. In this case, the playlist file is not required.
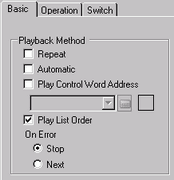
Click [Extended] and select the [Play List Order] check box.
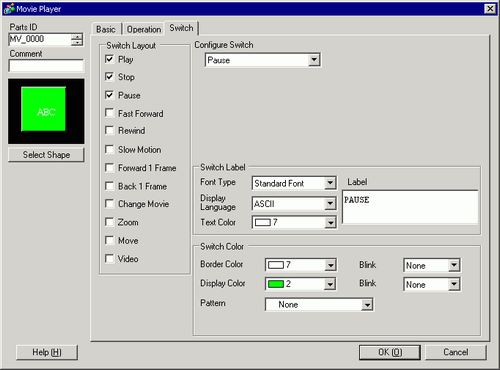
Configure a switch for operation. Click the [Switch] tab, and in the [Switch Layout] area select the [Play], [Pause], and [Stop] check boxes.
In [Select Shape], select the shape of the switch, and specify the label and color as necessary. Click [OK] to complete the settings.
You cannot specify individual shapes and colors for switches drawn using the [Switch] tab on the [Movie Player] part. You can only specify individual labels. If you want to define specific shapes and colors for each switch, do not use the [Switch] tab. Instead, use the Switch/Lamp part to create a [Movie Player Switch] from the [Special Switch] settings.10.15.4 Special Switch
Depending on the shape of the switch, you may not be able to change the color.
When you select a switch and press the [F2] key, you can directly edit the text on the label.
The switches can be individually selected and moved to a desired location.