Please refer to the Settings Guide for details.27.9.1 Video / Movie Settings
27.9.4 Movie Player Settings Guide
For details on how to draw parts, and defining the address, shape, color, and labels, please see the parts editing topic.8.6.1 Editing Parts
Displaying video from a video camera on the display unit's screen in real time.
In [System Settings], click [Video/Movie].
If the [System Settings] tab is not displayed in the workspace, on the [View (V)] menu, point to [Workspace (W)], and then click [System Settings (S)].
From [Video Input], select [NTSC]. (If the video signal is PAL, select [PAL].)
In the [Screen List] window, open the base screen where you want to display the video.
On the [Parts (P)] menu, click [Movie Player (M)], or click and place a movie player on the screen.
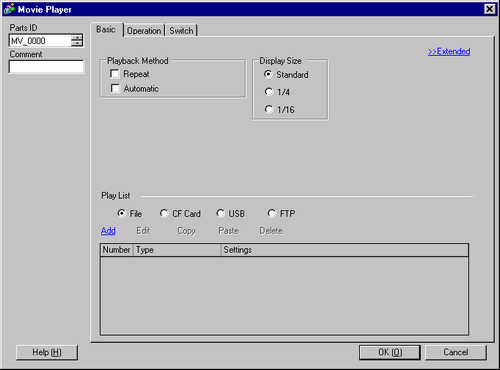
Double-click the movie player. The following dialog box appears.
In the [Display Size] area select [1/4].
If the selected [Display Size] is larger than the size of the display unit's screen or the movie player, the entire image is not displayed. If you want to display the entire image, set the [Display Size] smaller than the size of the movie player.
The display size varies depending on a type of input signal.27.9.4.1 Movie Player - Basic Settings/Basic
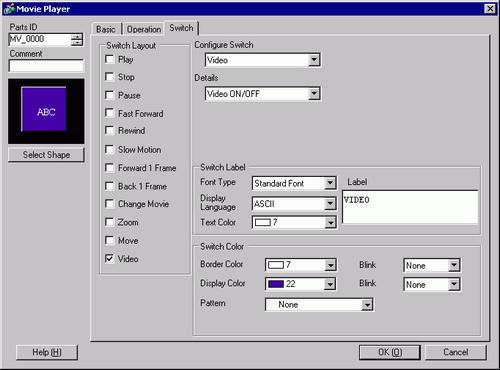
Click the [Switch] tab. [Switch Layout] options, select the [Video] check box. In the [Details] list, select [Video ON/OFF].
Click [Select Shape] to select the shape of the switch and specify the label and color as desired, and then click [OK].
Depending on the shape of the switch, you may not be able to change the color.
When you select a switch and press the [F2] key, you can directly edit the text on the label.