![]()
-
Please refer to the Settings Guide for details.
 10.15.3 Change Screen Switch
-
For details on how to draw parts and define the address, shape, color, and labels, please see the "Part Editing Procedure".
8.7.1 Editing Parts
![]()
Please refer to the Settings Guide for details.
![]() 10.15.3 Change Screen Switch
10.15.3 Change Screen Switch
For details on how to draw parts and define the address, shape, color, and labels, please see the "Part Editing Procedure".
![]() 8.7.1 Editing Parts
8.7.1 Editing Parts
Create a Switch that changes the screen to Base Screen 10.
From the [Parts (P)] menu, point to [Switch/Lamp (C)] and select [Change Screen Switch (C)] or from the toolbar click ![]() , and place the switch on the screen.
, and place the switch on the screen.
Double-click the placed Switch part. The following dialog box appears.

In [Select Shape], select the Switch shape.
From the [Screen Change Action] drop-down list, select [Screen Change]. Set [Screen Number] to the destination screen number (for example, 10).
As needed, set the color and display text on the [Color] tab and [Label] tab, and click [OK].
![]()
Depending on the shape, you may not be able to change the color.
When you select a switch and press the [F2] key, you can directly edit the text on the label.
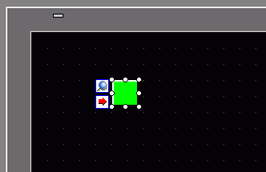
After you define a change to screen, the ![]() icon displays on the switch. Click this icon to jump to the designated screen. This feature is useful for changing or checking the screen setup.
icon displays on the switch. Click this icon to jump to the designated screen. This feature is useful for changing or checking the screen setup.