![]()
-
For details about the setting screen, refer to the setting guide.
 M.17.2.8 Main Unit - Extended Settings
-
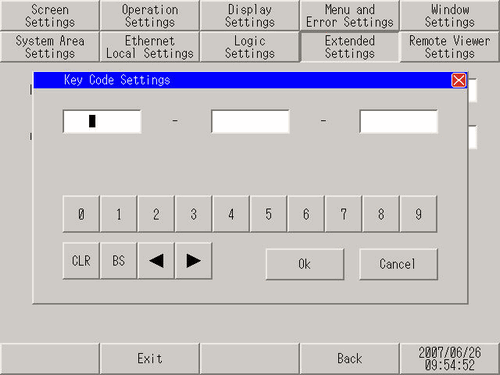
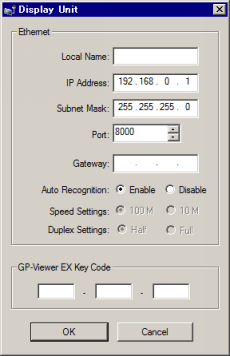
To use the Remote PC Access and GP-Viewer EX functions, you must purchase a Remote PC Access key code (model: EX-RPA) and GP-Viewer EX key code (model: EX-VIEWER-LICENSE).
-
When using the following models, you can set up the GP-Viewer EX license.
-
SP5000 Series (excluding Open Box)
-
GP4000 Series models (excluding GP-410*) with a LAN port
-
LT4000 Series
-
ST6000 Series
-
STM6000 series
-
STC6000 Series
Using the Transfer Tool to set up GP-Viewer EX license