From the task bar, click [Start], point to [Programs (P)]. On Windows XP, point to [All programs (P)], [Pro-face], [GP-Pro EX *.**] (*.** is the version number), and then click [Project Converter].
The Project Converter window opens and the [Project Converter] dialog box appears.
[Convert-From]. In the [Project File (*.PRW)] list, define the type of project to convert. 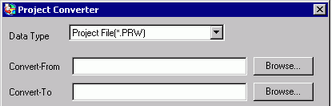
![]()
To convert [Pro-Control Editor] files, select [Logic File(*.wll)]. To convert partial program files (*.wlp) or subroutine program files (*.wlf), you need to use GP-PRO/PBIII to save the files in Project File format (*.prw), then open them in the Project Converter.
To convert a project (*.lte) from the LT editor, in GP-PRO/PBIII save it as a *.prw file to enable conversion.
[Convert-From] field, select a GP-PRO/PBIII for Windows project file (*.prw). [Browse]. Click to select the project (for example, "AManufacturing System.prw"), and then click [Open (O)]. The selected file is defined as [Convert-From].
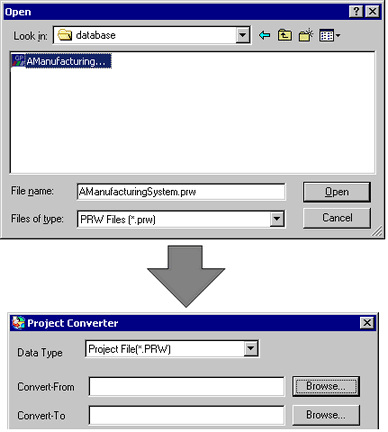
[Convert-To] Select a GP-Pro EX project file (*.prx).[Browse] Click to input a new [File name] (for example "AManufacturingSystem.prx"), and click [Save]. A new project file is set to [Convert-To].
![]()
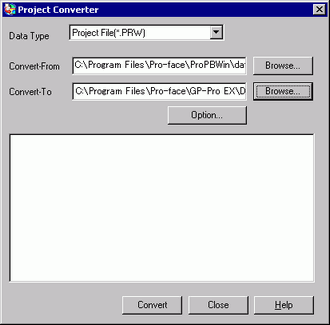
If a [Convert-To] file already exists, you are prompted to keep or overwrite this file.

[Convert] Click to start the conversion.
![]()
An error message may appear during project conversion.
 T.10 Project Converter Error Messages
Depending on your display unit, the [Convert-To Model Type] dialog box may appear where you can select the model.
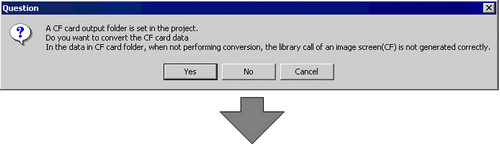
When the following dialog box appears, set the CF Card folder.
Converting the Destination in the GP-PRO/PBIII for Windows "CF Card Data Output Folder"

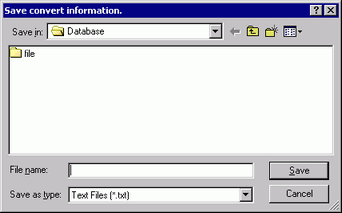
After conversion, the [Save As] dialog box appears.[Save] option saves the conversion information to a text file. To save the file, enter a [File name (N)] and click [Save].[Cancel] option returns to the [Project Converter] dialog box without saving the conversion information in a text file.
[Close] exits the [Project Converter].
Converting the GP-PRO/PBIII for Windows "CF Card Data Output Folder" Destination
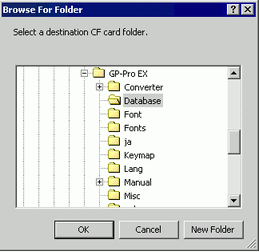
When converting a project file (*.prw) with a CF Card Data Destination Folder, in Convert Destination you are prompted to define the CF Card Data Destination Folder.
Select the appropriate folder (for example, "Database") and click [OK].
[New Folder] creates a reference folder in the selected location.
![]()
You always need to select [Yes] to convert the CF Card Data Destination Folder in the [Question] dialog box. If you select [No], called images may not be properly displayed.