![]()
Please refer to the Settings Guide for details.
 30.7.7 I/O Driver Settings Guide - CANopen
![]()
Please refer to the Settings Guide for details.![]() 30.7.7 I/O Driver Settings Guide - CANopen
30.7.7 I/O Driver Settings Guide - CANopen
In Model Settings, select AGP-*****-CA1M/LT.
![]()
When using LT models, select "CANopen Driver" for the I/O driver.
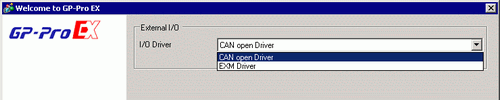
Open [I/O Driver] in System Settings.
Click [Settings] and the following dialog box appears.
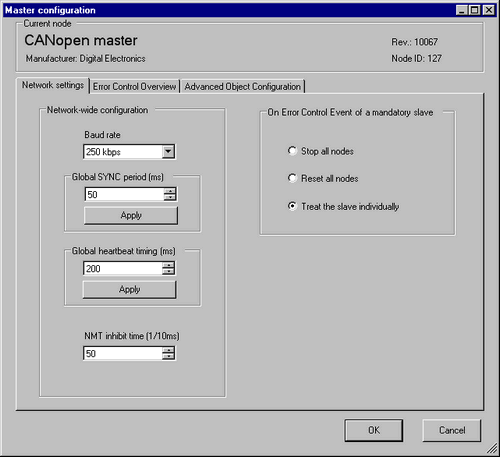
Click [Master Configuration] and the following dialog box appears. Configure all of the CANopen network settings, such as Baud rate, SYNC sending period, and master object settings. Click [OK] to enable the settings and the dialog box closes.
![]()
Set the slave (HTB) baud rate on the HTB unit itself.
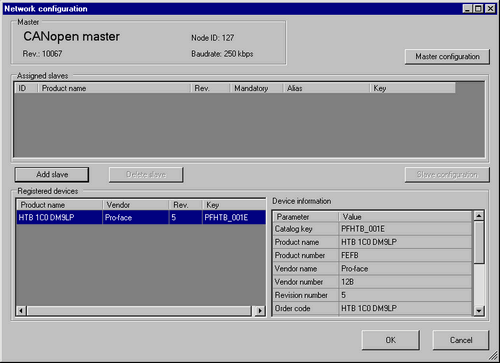
Next, add the HTB (slave) to the CANopen network. In the [EDS List], select the HTB unit's EDS file and click [Add Slave].
![]()
When working with slave units from other manufacturers, please see the following.![]() 30.7.2 Connecting Third-party Slaves - CANopen
30.7.2 Connecting Third-party Slaves - CANopen
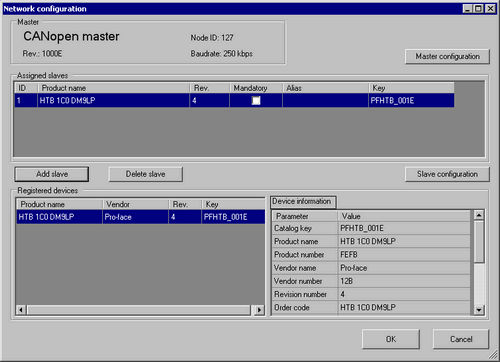
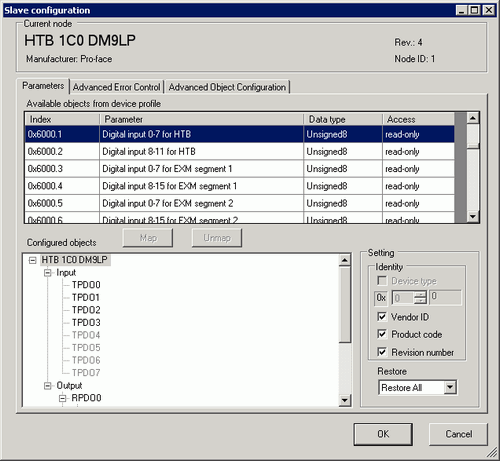
Click [Slave Configuration] with the added slave unit selected and the following dialog box appears. According to the function you want to use, configure the communication parameter settings and set actions and values of objects to be used. Click [OK] to enable the settings and the dialog box closes.
![]()
When using an EX module, use a sub index object that corresponds to the attachment position of the EX module.![]() 30.7.6 Expanding I/O Using EX Module
30.7.6 Expanding I/O Using EX Module
Click [I/O Screen] in the [I/O Driver Settings] screen or select [I/O Screen] in the [Screen List] window on Work Space to allocate a variable to each of the mapped objects. For information on how to assign variables, refer to the following.![]() 30.7.3 Mapping I/O - CANopen
30.7.3 Mapping I/O - CANopen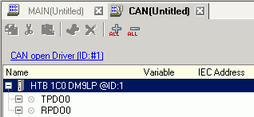
Create a Logic Screen and a Base Screen to access the allocated variables and transfer them to the display unit.