![]()
For details about Send operations, refer to the following.
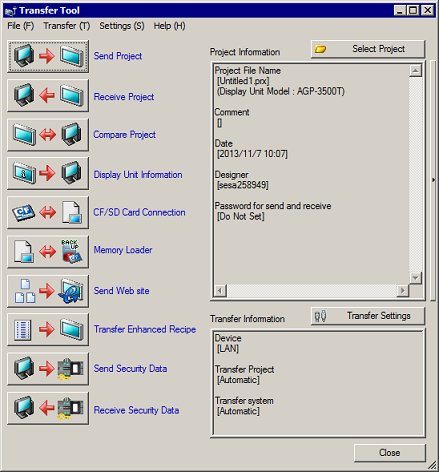
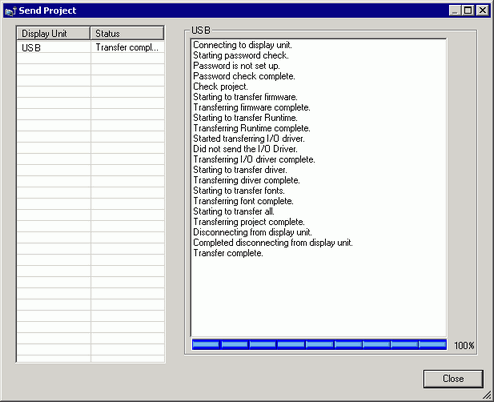
 34.14.1 How Send Works
Please refer to the Settings Guide for details.
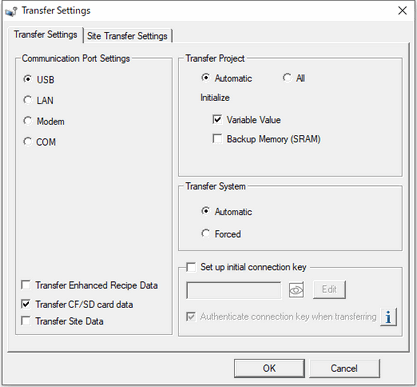
34.12 Settings GuideIf transfer is not successful even though the steps are followed, refer to the following.
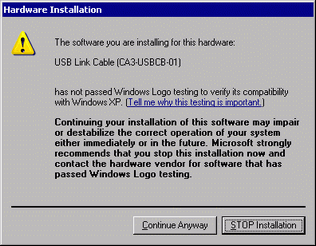
Maintenance/Troubleshooting Guide, T.2.3 Unable to transfer project (USB transfer cable)