Select [Printer] from the System Settings window.


If the [System Settings] tab does not display in the workspace, select the [View (V)] menu, select the [Work Space (W)] option, and choose the [System Settings (S)] command.
Select [GP Remote Printer Server] as the printer type.
When [GP Remote Printer Server] is selected, the following message displays.
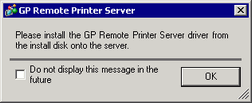
If the selected model does not support Ethernet connections, [GP Remote Printer Server] cannot be selected as the Printer Type.
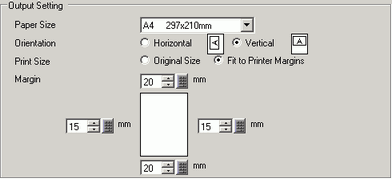
Configure the output settings. Configure the [Paper Size], [Paper Orientation], [Print Size], and printer [Margin] settings.
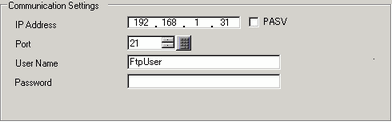
Configure communication settings. Set the [IP Address] of the connected computer, [Port] for FTP connections (here "192.168.1.31"), [User Name] (here "FtpUser") and [Password].
For [User Name] and [Password], enter the user account that you created for FTP login.
 34.3.4.2 Installation and Setup of an FTP Server , Create a User for FTP Login
The maximum number of characters that you can enter in the [User Name] field is 20.
The printer connection settings are complete.
Printing begins when the display unit and printer server are connected with Ethernet cables and each feature's print settings are defined.