
Please refer to the Settings Guide for details.
 17.11.5 Text Registration - Import Text Screen
Please refer to the Settings Guide for details.17.11.5 Text Registration - Import Text Screen
From the [Common Settings (R)] menu, select [Text Registration (T)] or click  to open the [New Text/Open] dialog box and then click [Import].
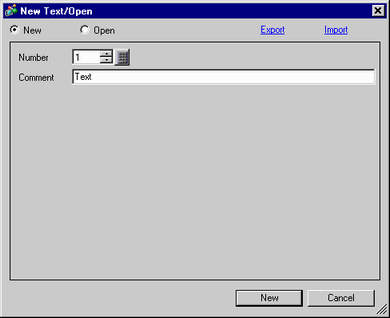
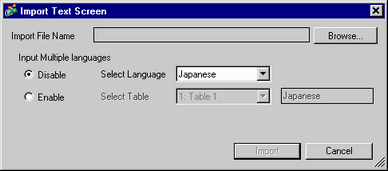
The [Import Text Screen] dialog box appears.
Click [Browse] to select a text file to import.
The [Import Text Screen] dialog box appears. Select a TXT file (*.txt) from [File Type] and select a file to be imported. Click [Open].
You can only import Unicode text files.
The selected text files are displayed in [Import File Name].
For example, when exporting the text screen using the language change feature and reimporting it:


When importing, all file fomats have to match the specified format.
Be sure to confirm the file format when preparing files for import17.7.3 Text Screen File Format - File Format
When [Input Multiple language] is enabled, if the language of the import file language and the language set in the table using the language change feature are different, text may be garbled.
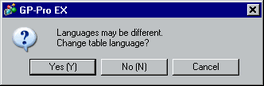
In the following confimation dialog box, select [Yes] if you want to change the language set in the table using the language change feature, [No] if you do not want to change the language, and [Cancel] to cancel import.
Click [Import] after confirming the configurations.
When the file is loaded, a confirmation message will appear. Click [OK].
If there is an error during the TXT file import, the import will be canceled. Text before the error will be imported.
If there is an error during the CSV file import, the import will be canceled. Depending on the timing of an error, text before the error may not be imported.