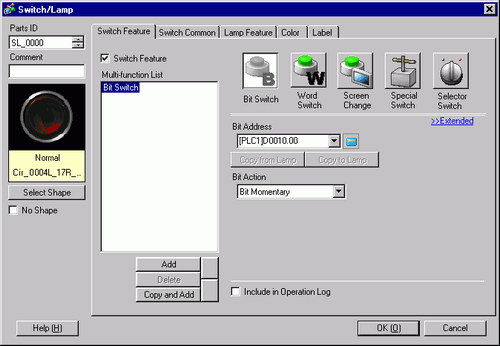
Double-click the part for which you want to register a new image, and the following dialog box will appear. Click [Select Shape]. (For example, switch)
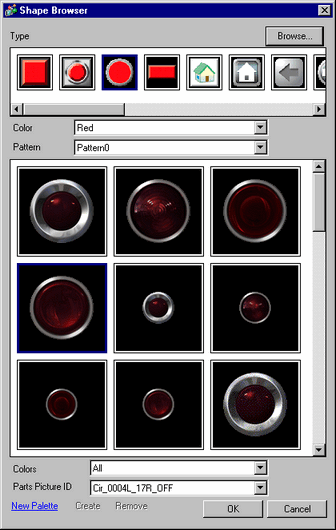
The [Shape Browser] dialog box will appear. Click [New Palette].
![]()
-
Depending on the shape of the part, clicking on [Select Shape] may open another dialog box called [Select State]. Choose the desired state and then click [Open] to open the [Shape Browser] dialog box.
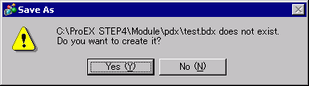
The [Save As] dialog box will appear. Define the [Location (I)] and [File Name (N)] of the new part palette you and click [Save (S)].
When the following message appears, click [Yes (Y)].
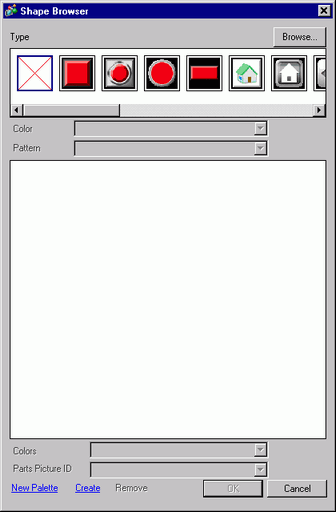
The newly registered [Shape Browser] dialog box will appear. Click [Create].
The [Register Part] dialog box will appear. Select [State 0], and click [Select].

When the [Open File] dialog box appears, navigate to the image location [Look In], select the [File Name], and click [Open].
The image will be registered in the [Register Part] dialog box [State 0].
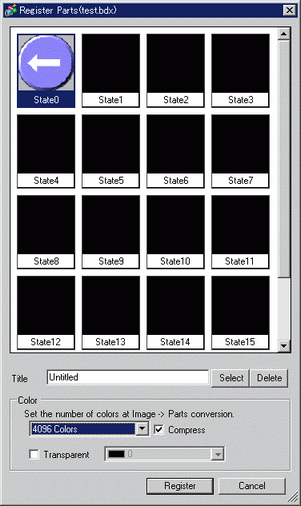
If necessary, set the part number and number of colors for the image to register in [Title] and [Color Settings], and click [Register], to complete the process.