![]()
-
Please refer to the Settings Guide for details.
 21.7 Settings Guide
Using the current position as the start point, set the end position 200 pixels away, horizontally.
![]()
Please refer to the Settings Guide for details.
![]() 21.7 Settings Guide
21.7 Settings Guide
Select the object to move then from the [Edit (E)] menu click [Animation (N)], or right-click the object and select [Animation (N)].
![]()
The animation settings screen can also be displayed as follows.
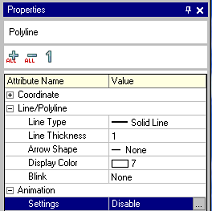
Select an object on the screen, from the [Properties] window, [Animation], [Settings], click on the ellipsis [...].
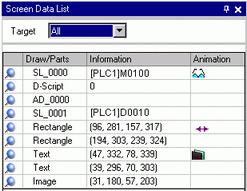
On the [Screen Data List] dialog box, double click on the [Animation] column of the object you want to edit.
The [Animation Settings] dialog box appears. On the left pane, expand [Position] and select [Horizontal].
Select the [Horizontal Animation] check box.
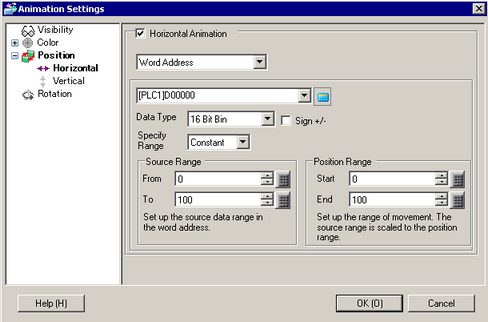
Enter the address that defines how much to move. (For example, D100)
![]()
If you want to specify the distance using an expression, see the following.
![]() 21.10.1 Numeric Expression
21.10.1 Numeric Expression
Configure the [Data Type]. For example, 16 Bit Bin.
Select [Specify Range] from [Constant] or [Address]. (For example, Constant)
![]()
If you select [Address] for [Specify Range], you can change the [Input Range] or [Position Range] during operation.
For more information about the relationship between [Source Range] and the [Position Range], please refer to the following.
![]() 21.4.2 How Position Animation Works
21.4.2 How Position Animation Works
For the [Source Range], enter the [From] and [To] values. (For example: From = 0, To = 100)
Select the [Position Range]'s [Start] and [End] points. (For example: Start = 0 and End = 200)
Click [OK].