20.10.1 Procedure - Searching / Sorting Alarm History

  1. From the [Common Settings] menu, select [Alarm], or click , and set the message to display when the alarm is triggered.
    For more details, please refer to the following.
    20.4.1 Procedure - Acknowledging the Alarm History/Bit Monitoring, step 1 to 7.

  2. Open the screen editor and set the Alarm part which will display the Alarm. In the [Parts (P)] menu, select [Alarm (A)], or click and place the Part on the screen.

  3. Double-click the placed Alarm. The Alarm dialog box appears.

  4. In the [Basic] tab, from the [Display Block] list choose the number of blocks. In [Display Mode] select [History].

  5. From [Message Display Mode] list, select [1 line display].

    • If you select [Multiple line display] for the [Message Display Method], the Refine Search / Sort function for the [Message] column does not work.

  6. Set the [Display Start Row], [Display Alarms] and [Display Row Spacing].

  7. Click the [Display] tab and set the font type and font size. Select the [Show Border].

  8. Select [Refine Search / Sort] and specify the status address. (Example: D301)

  9. Click the [Item] tab. Specify the values for each item in the [Display Characters] column and change item name(s) as needed.

    • Please ensure that the combination of text size and displayed characters creates a touch area larger than 20x20 pixels. The touch areas smaller than this may not respond to your touch.
      To see the size of the touch area on the editing screen, from the [View] menu, click [Preferences] to open the Preferences dialog box. From the list, click [Screen Edit Style] and click [Display] tab and select [Show Touch Areas].

    • If the length of item name exceeds the column width, the system responds to touch only within the column width for each item.

    • For [Background Color] in the [Show-Item-Name Settings], select an option other than [Transparent]. If you refine search with [Transparent] selected, the text for item name will become invisible. When you sort, the sort icon may overlap with the transparent item name and remain on the screen.
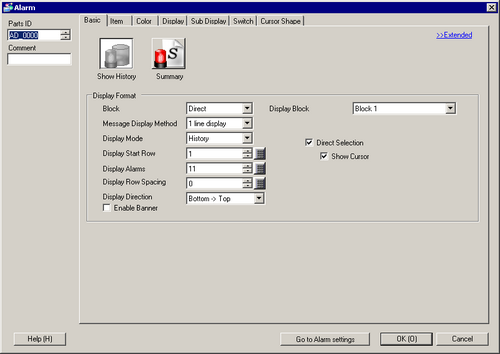
  10. Open the [Switch] tab, and select all switches you want to use, such as the [Clear Search/Sort] and [Update Search/Sort] switches.

  11. Select the Switch shape from [Select Shape].

  12. Choose the switch from [Select Switch], and designate the switch label [Font Type], [Display Language], [Text Color] and [Label].
    Also, set the Switch colors in [Switch Color] as necessary.

    • Depending on the shape, you may not be able to change the color.

    • The Switch Color and Shape settings are common to all switches in each Alarm part. If you want to change the shape and color for each switch, use a Switch Lamp Part [Special Switch (Alarm History Switch)].
      10.15.4.1 Special Switch - Switch Features

  13. Click the [Cursor Shape] tab and select [Line] for the [Cursor Shape].

  14. Click [OK]. Now you have completed configuring an alarm part.